miniDSP 2×4 HD Setup Guide for Room Correction

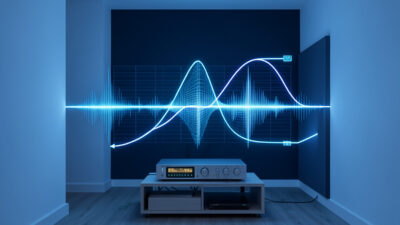
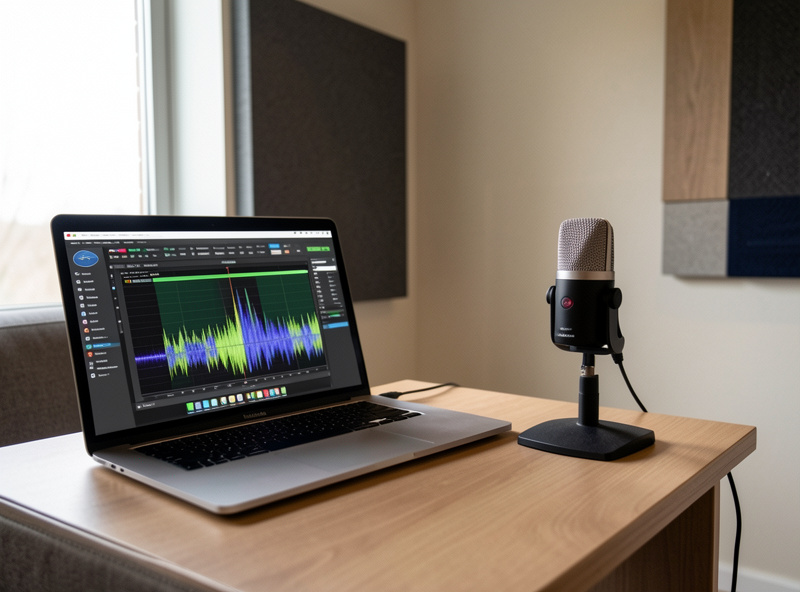
The miniDSP 2×4 HD is the box that took my room correction from a software experiment tied to one computer to a permanent, source-agnostic fixture in the signal chain. It sits between my source and my amplifier, applies the same measured correction to everything that passes through, and never asks which app is open. It is also the single most-asked-about piece on my bench, because the unit is powerful, the documentation is terse, and the first setup trips almost everyone up in the same places. This is the walkthrough I wish I had the first time, written from having done it more times than I can count across different rooms.
This guide assumes you have already measured your room and you understand what you are trying to fix — if you have not, read my room correction equalizer basics first, because the miniDSP is the tool that applies the correction, not the thing that tells you what correction to make. The box is only as good as the measurement that feeds it. With that understood, here is how I set one up from the box to a corrected room.
What the miniDSP 2×4 HD Actually Is
The 2×4 HD is a digital signal processor with two inputs and four outputs, running everything in the digital domain at high resolution. The name describes the routing: two channels in, four channels out, which is exactly what you want for a stereo system with one or two subwoofers — left and right come in, and you send corrected left, corrected right, and one or two sub feeds out. It does parametric EQ, crossovers, delay, and gain on each output independently, all configured from a plugin on your computer and then stored on the device so it runs standalone afterward. If you are deciding between a parametric EQ and a graphic equalizer for the DSP stage, the parametric vs graphic equalizer guide explains why parametric wins every time for room correction work.
The “HD” matters: it processes at higher sample rates and bit depth than the older units, which keeps the correction transparent. For a two-channel music system with subwoofer integration, this is the unit I reach for. If you want the same processing with a built-in DAC, more inputs, and a remote, the miniDSP Flex is the step up, but the 2×4 HD is the price-performance sweet spot and the one I recommend most.
Disclosure: some links below are Amazon affiliate links; I may earn a small commission at no cost to you, and I only point you at gear I actually run. They are search links so they never go stale.
What You Need Before You Start
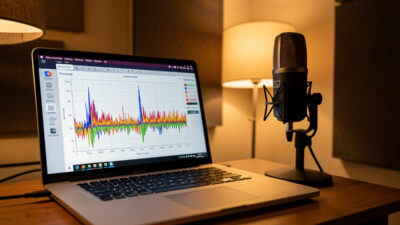
Three things, beyond the unit itself. First, a measurement microphone — a calibrated UMIK-1 USB mic with its calibration file is what I use, because the whole point of the exercise is correcting to measured data, not guesses. Second, REW (Room EQ Wizard), the free measurement software that reads your room and generates the filter values you will type into the plugin. Third, the miniDSP plugin for your unit, downloaded from the user portal after you register the device — this is the desktop app you configure everything in.
You also need to think about where the box sits in your chain. The 2×4 HD goes after your source or preamp output and before your power amplifier or active speakers. If you run a passive integrated amp, the cleanest insertion is usually between a streamer/DAC and the amp. Get the routing clear in your head before you plug anything in, because half the setup confusion is people unsure what feeds what.
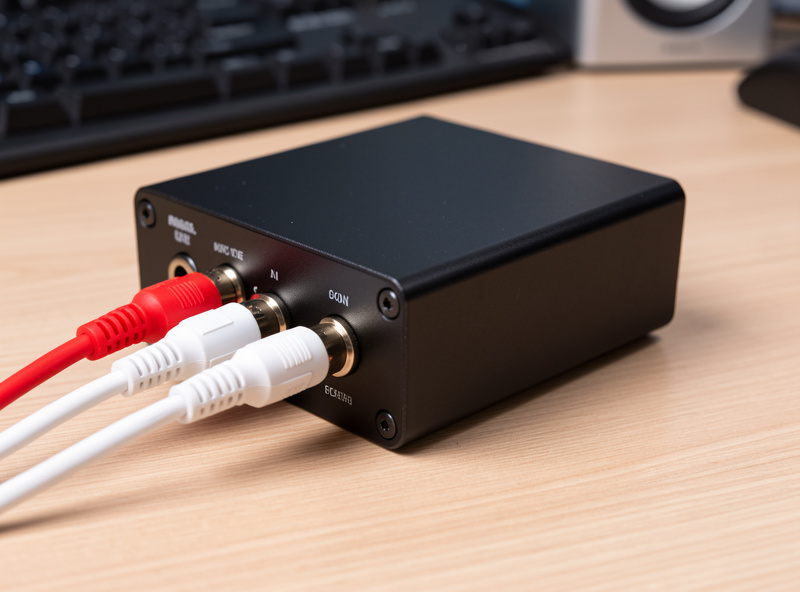
Step One: Connect and Confirm Signal Routing
Wire the two inputs from your source (left and right), and the four outputs: outputs 1 and 2 to your main amplifier left and right, outputs 3 and 4 to your subwoofer (or two subs). Power it up, connect it to your computer by USB, and open the plugin. The first thing I do is confirm signal is actually passing — play music and watch the input meters move, then the output meters. Do not configure a single filter until you have confirmed clean signal flow on every channel you are using. Catching a swapped cable now saves an hour of confusion later.
Set your input gain so the meters peak comfortably without clipping, and set the device’s overall output to leave headroom. Because all your correction filters will be cuts (you correct peaks by cutting, never by boosting nulls), you want margin so the cuts have room to work without you having to push levels back up into clipping. This headroom discipline is the difference between transparent correction and a noisy, clipped mess.
Step Two: Measure the Room With REW
With the UMIK-1 at the listening position, run a sweep in REW. Load the mic’s calibration file first — every UMIK-1 ships with a unique file, and skipping it means correcting to a wrong baseline. Take a measurement at the main seat, then a few more around the listening area so you can work from a spatial average rather than a single point that might be wrong everywhere else you sit. The average is what holds up when you lean forward or shift in the chair.
Look at the response below your Schroeder frequency and identify the peaks. These are your targets. Note the nulls too, so you know which dips to leave alone — boosting a null in the miniDSP just clips the output and stresses your woofer without filling the hole. REW will let you set a target curve and generate the parametric filters needed to reach it; this is where the software hands you the frequency, gain, and Q values you will transfer to the unit.
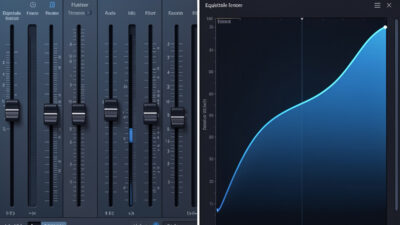
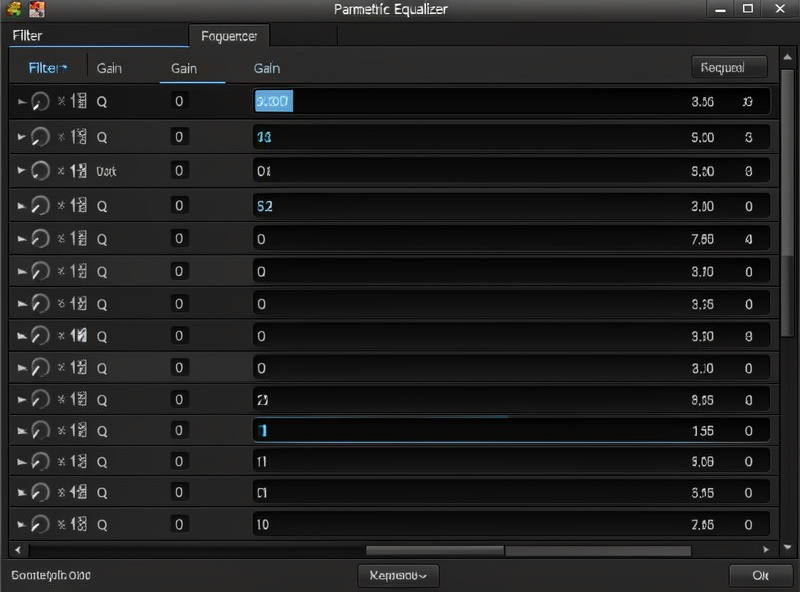
Step Three: Enter the Parametric Filters
In the plugin’s parametric EQ section for each output, enter the filters REW generated: center frequency, gain (a negative number for a cut), and Q for each band. I work through the peaks one at a time, applying the same correction to both main outputs so the stereo image stays balanced. Keep the boosts minimal or absent — if REW suggests a large boost to fill a null, ignore it and solve that null with placement instead. A correction that is almost entirely cuts is a correction that stays transparent.
Once the filters are in, push them to the device and re-measure. The corrected sweep should show the peaks pulled down toward your target curve, with the response noticeably smoother through the bass. If something looks wrong, adjust the offending filter and re-measure — this is an iterative process, and two or three rounds is normal. The re-measurement is non-negotiable; entering filters and assuming they worked is how people end up worse off than when they started.
A practical tip from doing this repeatedly: name and date each saved configuration in the plugin before you push it, because you will iterate, and being able to roll back to the version that measured well an hour ago saves real frustration. I keep my working files organized so I never lose a good correction to an experimental one that turned out worse.
Step Four: Integrate the Subwoofer
The four-output design exists for exactly this. On the sub output, set a low-pass crossover (commonly around 80 Hz, but let the measurement and your mains’ capability decide), and on the main outputs set a matching high-pass if you are relieving them of deep bass. Then use the delay and gain controls on the sub channel to time-align and level-match the sub to the mains, confirming the result by measuring the combined response through the crossover region for a smooth handoff with no dip or bump at the join. The miniDSP’s per-output delay is the tool that makes a sub actually disappear into the mains instead of announcing itself.
This subwoofer integration is where the 2×4 HD earns its keep over a software-only setup, because it applies the crossover, delay, and EQ in hardware to every source at once. The full settings logic for blending a sub is its own deep topic, building on the placement-and-phase fundamentals every sub setup rests on. Take the time here — a well-integrated sub is the most dramatic before-and-after in the whole room.
Step Five: Store, Then Listen
Save your configuration to one of the device’s preset slots so it runs standalone without the computer attached. I keep one slot as my reference correction and sometimes a second with a slightly different house curve for late-night listening. Then disconnect the laptop and just live with it for a week. The measurement gets you to neutral; your ears decide the final house curve — a touch more low-end weight, a slightly relaxed top — layered on top of the corrected baseline. That final seasoning is a listening decision, and it is the only part of this process where your ears outrank the curve.
That is the whole setup: route, measure, filter, integrate the sub, store, and listen. The box is not complicated once you understand that it is only ever applying the correction your measurement defined — get the measurement right and the miniDSP does exactly what you tell it, every source, every time. If you want the bigger picture of where this fits in a complete approach to a room, my home audio equalizer guide is the overview, and the room acoustics treatment guide covers the physical side the DSP cannot fix. For a fully-featured unit with a built-in DAC and remote, the miniDSP 2×4 HD remains my standing recommendation for most two-channel rooms.