Home Audio Equalizer Guide: Room EQ Done Right
I have spent years moving the same handful of gear in and out of one fixed, measured room in Sweden, and the single thing that has improved the sound more than any box swap is equalization done properly. Not the bass-and-treble knobs your receiver shipped with, and not a wall of slider presets named “Rock” and “Jazz” — I mean correcting the room’s actual misbehavior with measurements in hand. A home audio equalizer, used the way I use mine, is the cheapest, most dramatic upgrade in the chain, and it is the one nobody at the hi-fi shop wants to sell you because it does not come in a heavy aluminum chassis.
This guide is the map for the whole equalization side of my system: what an EQ actually is, the difference between the consumer tone controls and the parametric DSP I run, where room correction starts and stops, and how to measure your space so you are fixing the right problems instead of guessing. Everything here comes from sweeping my own room, dialing filters by hand, and listening back — the curve and the chair, together, every time.
What a Home Audio Equalizer Actually Does
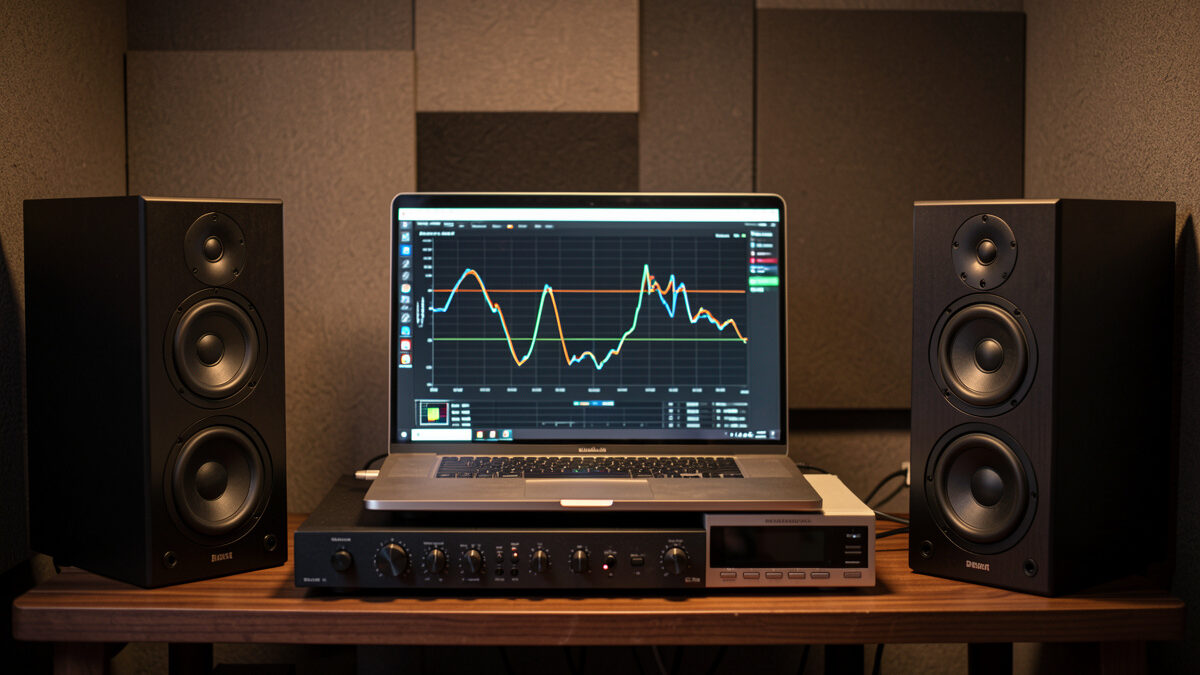
An equalizer adjusts the level of specific frequency bands in your signal. That is the whole job. Boost 60 Hz and the bass gets louder; cut 3 kHz and the harshness in a vocal eases off. The reason EQ matters so much in a real room is that the room itself is already a brutal, uneven equalizer — it amplifies some frequencies by 10 dB or more at certain seats and swallows others entirely. Your speakers might measure ruler-flat in an anechoic chamber and still sound like a different pair of speakers once the four walls get involved.
The mistake most people make is treating EQ as a flavor tool — something to make things “warmer” or “brighter” by taste. I use it the opposite way: as a corrective instrument that drags the in-room response back toward neutral so the recording, not the room, decides what I hear. Taste comes after correction, as a deliberate house curve, never as a blind guess. Once you have heard a properly corrected low end — bass that is even from the listening chair instead of one-note boom — the consumer-grade tone stack feels like steering a car with oven mitts on.
There is a hierarchy to where EQ helps. Below roughly 300 Hz, the room dominates and EQ is genuinely transformative, because room modes create deep, narrow peaks and nulls that no amount of speaker spending can fix. Above the Schroeder frequency — the rough boundary, usually 200 to 300 Hz in a domestic room, above which reflections blend into a diffuse field — EQ becomes a much blunter tool, and the smarter fix is physical: absorption and placement. Knowing which side of that line you are on is half of doing this well.
The Types of EQ, and Which One I Actually Use
People throw “EQ” around as one word, but there are distinct breeds, and they are not interchangeable. The two that matter for home audio are graphic and parametric, and the gap between them is the gap between a blunt instrument and a scalpel.
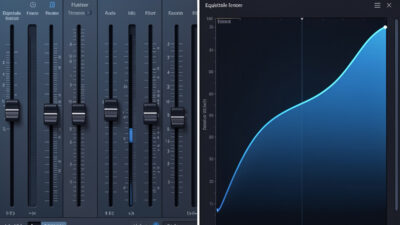
A graphic equalizer gives you a fixed set of frequency bands — say 10 or 31 sliders — each at a preset center frequency and a preset width. You push the slider up or down. It is intuitive and fine for broad tone-shaping, but it cannot target a narrow room-mode peak sitting between two of its fixed bands, and its filters are usually too wide to fix a problem without collateral damage to neighboring frequencies.
A parametric equalizer lets you choose the center frequency, the gain, and the Q (the width of the filter) for each band independently. That third control, Q, is everything for room correction. A room mode might be a 9 dB peak just 1/12th of an octave wide at 47 Hz; only a parametric filter can sit a narrow, deep cut exactly on it without touching 40 Hz or 55 Hz. Every correction filter I run is parametric, generated from a measurement, and that is the only kind of EQ I trust for fixing a room. The parametric-versus-graphic distinction is worth understanding fully, but if you remember one thing: for room work, parametric or nothing. The parametric vs graphic equalizer guide explains the difference in plain terms — how Q and center frequency work versus fixed bands — and when each type is the right tool.
Where the EQ lives in the chain
EQ can sit in several places: inside a streamer or media player as software, inside an AV receiver’s room-correction system, or as a dedicated hardware DSP box between source and amplifier. I run a dedicated hardware unit for the main system because it processes the signal in the digital domain at full resolution, applies the same correction to every source, and keeps the EQ out of any one app’s hands. For desktop and headphone use, software EQ is the right call — more on that below.
One distinction worth getting straight early: digital EQ applied before the signal is converted to analog is generally cleaner than analog tone controls, because it can be precise to a fraction of a decibel and it does not add the phase smearing and noise that cheap analog filters do. The one cost of digital EQ is headroom — every boost eats into your digital ceiling, which is another reason I correct almost entirely by cutting peaks rather than boosting, and trim the overall level to leave margin. Cut, don’t boost, is the single habit that keeps digital correction transparent.
Room Correction: EQ With Measurements Behind It
Room correction is just EQ applied scientifically, and for a deep dive into how automated correction systems work under the hood, my digital room correction explained guide covers the algorithms and practical limits. Instead of dialing filters by ear, you measure the in-room response with a calibrated microphone, identify the peaks and nulls, and build correction filters that flatten the result toward a target curve. This is where home audio EQ goes from a tone toy to an engineering tool, and it is the single discipline that defines how my room sounds.
The honest part nobody tells you: you cannot EQ your way out of everything. Peaks — frequencies the room boosts — correct beautifully; you cut them and they stay cut. Nulls — frequencies the room cancels via destructive interference — are mostly uncorrectable, because pouring 12 dB of boost into a cancellation just clips your amplifier and overheats your woofer without filling the hole. The fix for a deep null is moving the speaker or the seat, not EQ — which is why placement comes before any filter, the same logic from my speaker placement guide. Anyone promising EQ that fixes everything has not measured a real null.
For a step-by-step walkthrough of the measurement and filter-building process, my room correction EQ basics guide covers the full workflow from sweep to corrected curve. Room correction also pairs with, rather than replaces, physical treatment. The two solve different parts of the problem: EQ handles the steady-state level errors below the Schroeder frequency, while absorption and bass traps handle decay time and the reflections higher up that EQ cannot touch. I treated my room first — broadband absorbers at the first reflection points and corner bass traps — and only then applied DSP to clean up what was left. If your room has no treatment yet, start with my room acoustics treatment guide; the panels and the filters are partners, not rivals.
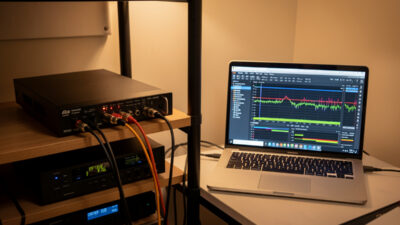
You Cannot Correct What You Have Not Measured
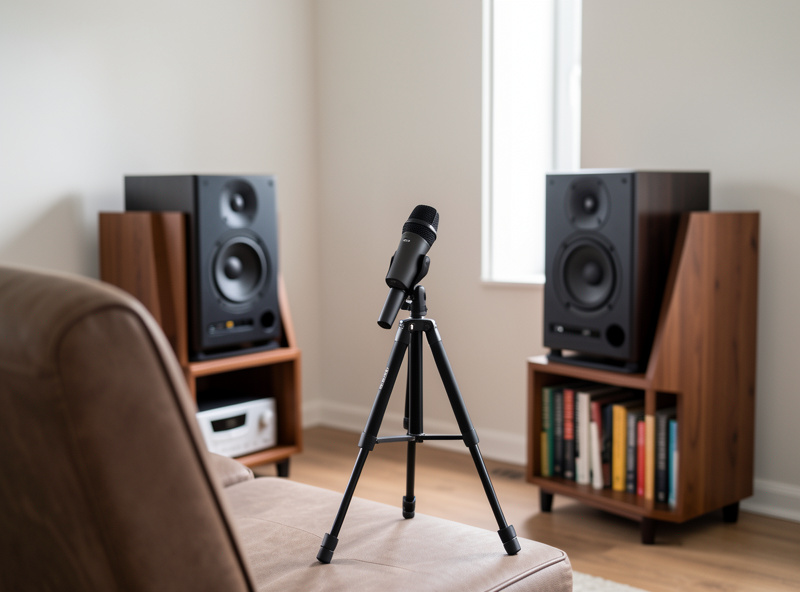
The whole edifice rests on measurement. Without a calibrated mic and measurement software, you are guessing, and EQ-by-ear at low frequencies is a near-certain way to make things worse — the ear is a terrible spectrum analyzer below 200 Hz. My rig is a miniDSP UMIK-1 calibrated USB microphone and REW (Room EQ Wizard), the free measurement program that has become the de facto standard for this work. A sweep takes seconds; reading it correctly is the skill. The REW room measurement software guide covers everything from calibrating your microphone to interpreting the waterfall decay and translating it into EQ corrections.
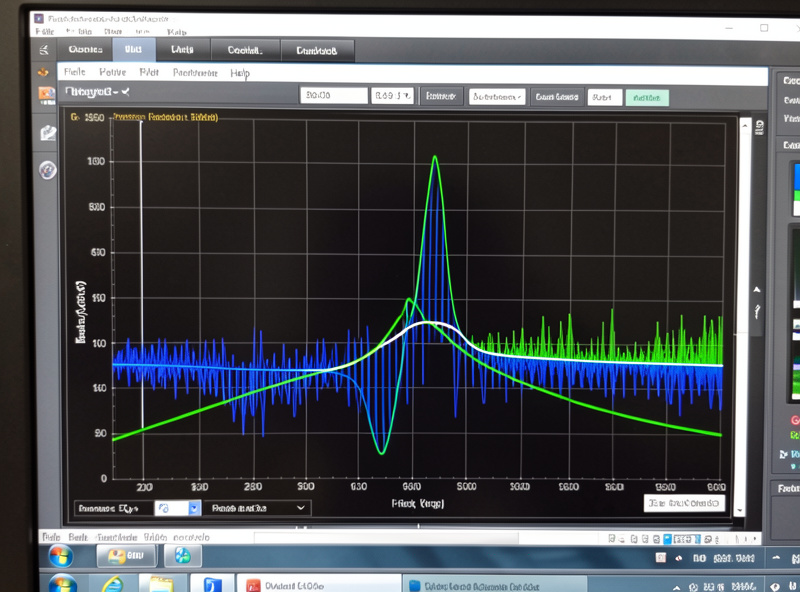
What I look at in every measurement: the frequency response (the level at each frequency from the seat), the waterfall or decay plot (how long each frequency rings on after the music stops, which exposes modal problems treatment must solve), and group delay (timing). The frequency response tells me what to EQ; the decay plot tells me what EQ cannot fix and treatment must. Learning to drive the software is its own project — the sweep, the calibration file, and how to read the curves without fooling yourself all take practice. It pairs directly with getting the seat and speakers right first, which I cover in my near-field listening setup guide.
Hardware DSP Versus Software EQ
There are two roads to running correction filters, and I use both for different jobs.
Hardware DSP — a dedicated box like a miniDSP 2×4 HD or the Flex — sits in the signal path and applies correction to everything that passes through, independent of source or app. If you are setting one up, my miniDSP 2×4 setup guide covers routing, gain staging, and filter loading step by step. It is what I use for the main speaker system, because it is bulletproof, it handles subwoofer integration cleanly, and it never depends on a particular player being open. The setup has a learning curve — routing, gain staging, and loading filters — but once configured it is the most bulletproof correction in the house.
Software EQ runs the correction on the playback device — a computer, phone, or streamer — using a plugin or built-in DSP engine. It costs nothing beyond the measurement gear, it is perfect for desktop and headphone listening, and it is where most people should start before buying hardware. The trade-off is that it only corrects audio from that one device and app. Convolution and parametric filters can both be applied in software, and the distinction between them matters once you go beyond simple band cuts.
Comparison: the EQ approaches at a glance
| Approach | What it is | Best for | Cost beyond mic | Corrects which sources |
|---|---|---|---|---|
| Graphic EQ | Fixed bands, fixed width | Broad tone shaping | Low / free | Whatever it is inserted on |
| Software parametric | Per-band freq/gain/Q on a device | Desktop, headphones, single PC | Free–low | One device / app |
| AVR room correction | Automated mic-based EQ in a receiver | Home theater convenience | Included | Everything through the AVR |
| Hardware DSP (miniDSP) | Dedicated parametric/convolution box | Main 2-channel system, subwoofers | Moderate | Everything in the chain |
Where EQ Pays Off Most: The Subwoofer
If you take one thing from this entire guide and apply it, make it the subwoofer. The bass region is where the room does the most damage and where EQ does the most good, and a subwoofer integrated with proper DSP is the most dramatic before-and-after I can show anyone. The peaks and nulls below 80 Hz are enormous in a typical room — easily 15 dB of swing across the seats — and parametric EQ plus careful placement tames them in a way nothing else can. My subwoofer EQ and integration guide walks through the crawl method, phase alignment, and the exact REW overlays I use to blend a sub into a two-channel system.
This is also where measurement is non-negotiable, because phase and crossover settings interact with level in ways your ear cannot untangle. Getting the sub to actually blend with the mains — same arrival timing, smooth handoff at the crossover, no suck-out at the join — is a measured process that builds directly on the placement-and-phase fundamentals from my subwoofer for music guide, taken further into the DSP domain.
EQ for Headphones Is a Different, Easier Game
Headphones change the equation entirely, and in your favor. There is no room — your ear is the only acoustic space — so the variables collapse to the headphone’s own frequency response and your individual ear shape. That makes headphone EQ both safer and more rewarding: you are correcting a known, repeatable target rather than chasing a chaotic room, and a well-chosen EQ profile can make a good headphone sound considerably better with a few filters, and my headphone EQ software guide covers the tools and target curves I use.
I run software EQ on every headphone I use, built from published measurements and refined by ear over weeks of listening. It is the lowest-risk, highest-reward EQ in audio because the failure modes that haunt room EQ — uncorrectable nulls, phase chaos, seat dependence — simply do not exist on a headphone; the tools and target curves are straightforward once you know them. If you are still choosing the headphones themselves, my planar versus dynamic driver guide covers how the driver type changes what EQ can do for you, and matching them to a source is covered in my headphone impedance matching guide.
The Order of Operations I Follow
Doing this in the right sequence saves you from correcting problems you should have moved out of the way. The order I follow in every room, every time:
First, placement: speakers and seat positioned to minimize modal damage and first-reflection trouble before any EQ, the placement-and-near-field work covered earlier. Second, treatment: physical absorption and bass traps for decay and reflections EQ cannot fix. Third, measurement: sweep the corrected-by-physics room to see what is left. Fourth, EQ: parametric correction on the residual peaks below the Schroeder frequency, plus a gentle house curve to taste. EQ is the last step, not the first, because it is the finishing pass — and a finishing pass over a badly placed, untreated room just polishes a mess.
Where does the rest of the system fit? Once the room is sorted, the chain matters far less than the forums claim, but it still has to be competent — a clean source, an honest DAC, and an amp matched to your speakers. My DAC buying guide and amplifier matching guide handle that side, and the complete beginner guide ties the whole system together if you are starting from scratch. For the broader acoustics picture beyond EQ, my speaker and room acoustics guide is the companion to this one.
The EQ Mistakes I See Most Often
After years of helping people read their own sweeps, the same errors come up again and again, and almost all of them stem from treating EQ as magic rather than as a measured correction. The first is boosting nulls. Someone sees a deep dip at 55 Hz and adds 10 dB of gain there, then wonders why the bass sounds worse and the amp runs hot. A null is a cancellation; you cannot fill it with level, only with a position change. I treat any boost over a few dB as a red flag that I am fighting physics instead of working with it.
The second is over-correcting — flattening the response to a dead-straight line. A perfectly flat in-room curve actually sounds thin and clinical, because our hearing expects a gentle downward tilt from bass to treble in a real space. I target a mild house curve: a few dB of lift in the low bass sloping down to a slightly relaxed top end. The goal is neutral-but-natural, not a ruler.
The third is correcting above the Schroeder frequency with narrow filters. Up there the response is dominated by reflections that change drastically with tiny head movements, so a sharp filter that fixes one position wrecks another. Above that boundary I leave the EQ broad and gentle, or I leave it alone entirely and reach for absorption instead. The fourth, and most common of all, is skipping the measurement — dialing by ear and convincing yourself it is better. Confirmation bias at low frequencies is overwhelming; the only honest referee is the curve.
The last one is single-point measurement. A correction built from one mic position can be wrong everywhere else in the room. I take a small cluster of measurements around the listening area and work from the average, so the filters hold up when I lean forward or shift in the chair. That spatial averaging is the difference between an EQ that survives real listening and one that only works if you sit perfectly still.
Further Reading From the Bench
EQ is one layer of a coherent system. If you are building or refining the rest of the chain around your corrected room, these are the pieces I lean on most. The cables question matters less than the room — I make the tested case in do expensive audio cables make a difference — and the active-versus-passive decision changes how much DSP you even need, which I cover in powered versus passive speakers. On the source and amplification side, USB DACs under $200 and budget amplifiers under $500 are where I send people who want a competent foundation without overspending, and for desk-and-headphone listeners my headphone amps under $300 guide rounds out the rig that software EQ runs on.
Frequently Asked Questions
Is a home audio equalizer worth it?
Yes, more than almost any component upgrade at the same price. The room is the biggest variable in how your system sounds, and parametric EQ driven by a measurement corrects room-induced peaks below the Schroeder frequency that no amount of speaker or amplifier spending can fix. The caveat is that EQ should follow placement and treatment, not replace them, and it cannot fill deep room nulls.
What is the difference between graphic and parametric EQ?
A graphic EQ has fixed frequency bands at fixed widths that you raise or lower with sliders. A parametric EQ lets you set the center frequency, gain, and width (Q) of each band independently. For room correction you need parametric, because room modes are narrow and a graphic EQ’s wide, fixed bands cannot target them without affecting neighboring frequencies.
Do I need a microphone to use EQ at home?
For correcting bass and room problems, yes. The ear is unreliable below about 200 Hz, so EQ-by-ear down there usually makes things worse. A calibrated USB measurement microphone and free software like REW let you see the actual in-room response and correct the real problems. For headphone EQ or broad tone-shaping, a mic is not required.
Can EQ fix any room problem?
No. EQ corrects peaks (frequencies the room boosts) very well, but it cannot fix deep nulls caused by destructive interference, because boosting a cancellation just clips the amp and stresses the woofer without filling the hole. Nulls are solved by moving the speaker or seat. EQ also cannot shorten decay times, which is the job of physical absorption.
Should I use hardware DSP or software EQ?
Use hardware DSP, like a miniDSP unit, for a main two-channel system because it corrects every source in the chain and handles subwoofer integration cleanly. Use software EQ for desktop and headphone listening, where it costs nothing beyond the measurement gear and only needs to correct one device. Most people should start with software before buying a hardware box.
The Bottom Line
Equalization, done with measurements instead of guesswork, is the highest-leverage move in home audio. It will not turn a bad recording good or fill a room null that physics forbids, but it will drag your in-room response back toward neutral and make every other component finally do its job. Treat the room first, measure before you touch a filter, keep your corrections parametric and surgical, and let the curve and the chair agree before you call it done. That is the whole discipline — and once you hear an honestly corrected low end, there is no going back to the tone knobs.