Subwoofer EQ Integration: Crossover, Phase, Settings
The subwoofer is where room EQ pays off more dramatically than anywhere else in the system, and it is also where the most people get it wrong. Bass is the region the room mangles hardest — easily 15 dB of swing across a few feet of seating — and a subwoofer integrated with measured DSP is the single most convincing before-and-after I can demonstrate to a skeptic. This is the settings-level guide: the crossover, phase, delay, gain, and EQ values that make a sub actually disappear into the mains instead of sitting in the corner announcing itself.
This builds on placement and phase fundamentals — if you have not got the sub physically positioned and roughly phase-aligned yet, start with my subwoofer integration for music guide first, because no amount of EQ rescues a sub fighting a deep null from a bad position — the same physics behind modern automated room-correction systems is covered in my digital room correction explained guide. With placement sorted, here is how I dial the DSP settings in for a seamless blend.
Why the Sub Needs DSP More Than Anything Else
Two reasons. First, the room’s worst frequency-response errors live in the sub’s territory, below roughly 80 Hz, where standing waves create the biggest peaks and the deepest nulls. Second, blending a separate bass source with your mains is a timing and level problem that the ear genuinely cannot solve by itself — phase and crossover interactions are invisible to listening alone, and you will chase your tail forever trying to dial them by feel. Measurement turns an impossible by-ear task into a methodical one.
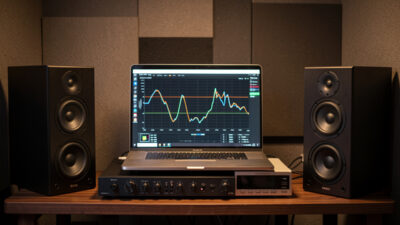
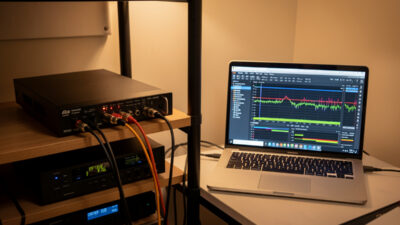
A DSP unit gives you per-output control of crossover, delay, gain, and parametric EQ — exactly the toolkit sub integration demands. I run the whole thing through a miniDSP 2×4 HD processor, which has the four outputs you want for stereo-plus-sub and lets me time-align and EQ the sub independently of the mains. The setup process for the unit itself is in my miniDSP 2×4 setup guide; this guide is about the sub-specific settings inside it.
Disclosure: links below are Amazon affiliate links; I may earn a small commission at no cost to you, and I only link gear I run myself. They are search links so they never go stale.
Setting the Crossover
The crossover is where you hand bass from the mains to the sub. The principle: set a low-pass filter on the sub and, ideally, a matching high-pass on the mains so the two overlap smoothly without both trying to reproduce the same frequencies. A common starting point is 80 Hz, but the right number depends on how low your mains play cleanly — small bookshelves want a higher crossover, say 80 to 100 Hz, while capable floorstanders can cross lower, around 60 to 70 Hz. Let the measurement guide it: cross where the mains start rolling off naturally so the handoff is smooth.
Relieving the mains of deep bass with a high-pass is one of the most underrated improvements available. It frees the main speakers and their amplifier from the hardest, most power-hungry frequencies, which cleans up the midrange and gives you more headroom. Many people run the sub alongside full-range mains and wonder why the bass is lumpy — overlapping bass sources double up unpredictably in the room. A proper crossed-over handoff is cleaner every time.
Phase and Delay: Making the Sub Arrive on Time
This is the step that separates a sub that blends from one that booms. The sub and mains must arrive at your ear in time with each other, or they interfere destructively right at the crossover and create a suck-out — a dip exactly where the handoff happens, which sounds like missing bass even though the sub is working hard. The fix is delay: in a DSP unit you add delay to whichever source arrives first (usually the mains, if the sub is farther away or has internal latency) so the two line up.
Phase control is the coarse version of the same idea. A phase knob or a 0/180-degree switch flips the sub’s polarity; the right setting is whichever measures a smoother, deeper response through the crossover. But a phase switch is a blunt tool — precise delay in the DSP is far better, because it lets you time-align to the millisecond rather than choosing between two phase states. I set delay by measuring the combined response and adjusting until the crossover region is smooth with no suck-out, which is the only reliable way to know it is right. By ear, a suck-out is easy to mistake for the room simply lacking bass.
The Settings, in Order
Here is the sequence I work through every time, and the typical starting values before measurement refines them.
| Setting | What it does | Typical starting point | Set by |
|---|---|---|---|
| Sub low-pass crossover | Limits sub to bass only | 80 Hz (60–100 by mains) | Where mains roll off |
| Mains high-pass | Frees mains of deep bass | Match the crossover | Matching the low-pass |
| Delay / phase | Time-aligns sub to mains | 0 ms, then adjust | Smoothest crossover region |
| Sub gain / level | Balances sub vs mains | To taste, then verify | Flat measured handoff |
| Parametric EQ on sub | Cuts modal peaks | None until measured | Cutting measured peaks |
Notice EQ comes last. You set the crossover, time-align with delay, level-match the gain, and only then EQ the modal peaks in the combined response. EQ-ing before the crossover and timing are right just means correcting a problem you are about to change. Order is everything here.
EQ-ing the Sub’s Peaks
With crossover, delay, and gain set, measure the combined response and look at the bass peaks. These are your parametric targets: cut them with narrow filters placed exactly on the modal frequencies. As everywhere in room correction, cut peaks, never boost nulls — a deep null in the bass is a position problem, and pouring boost into it just clips the sub amp and risks the driver. If a null is severe, the real fix is moving the sub or adding a second one to change the room’s interference pattern, not EQ.
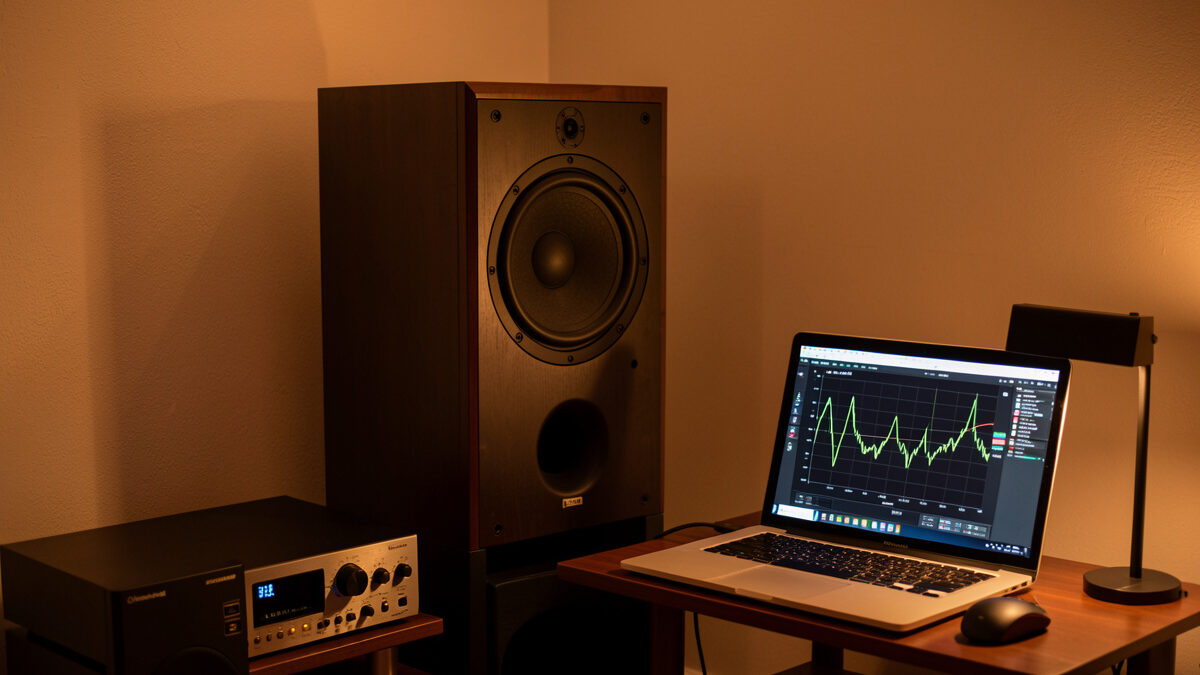
For the measurement itself, a calibrated UMIK-1 measurement mic at the seat is what tells you whether the integration worked. Measure, adjust, re-measure — the iterative loop that every honest correction relies on. When the combined bass is even from the chair and the crossover region has no dip, the sub will have vanished as a separate sound source, leaving only deep, articulate, even bass that seems to come from the mains themselves. That disappearing act is the entire goal, and it is only reliably achievable with measurement.
When One Sub Is Not Enough
There is a limit to what a single subwoofer and EQ can do, and it is worth knowing where it sits. One sub creates one interference pattern in the room, with peaks and nulls fixed by its position relative to the walls and the seat. EQ can cut the peaks, but the nulls stay, and if a deep null lands right at your listening chair, no single-sub setup or EQ will rescue it. This is the wall people hit when they have done everything right and the bass is still uneven across the seats.
The fix is a second subwoofer. Two subs placed asymmetrically create overlapping, different interference patterns that tend to fill each other’s nulls, and the result across multiple seats is dramatically smoother than one sub can manage — before you even apply EQ. The four-output design of a capable DSP is built for exactly this: independent crossover, delay, gain, and EQ on each sub so you can integrate both precisely. If you have wrung everything you can out of one sub and the response is still lumpy across the seating, a second sub plus DSP is the next real step, not a bigger single sub or more aggressive EQ.
That said, do not jump to two subs to dodge the work on one. A single sub, well-placed and properly time-aligned and EQ’d, sounds excellent at the primary seat and is all most rooms need. The second sub is the answer specifically for evenness across multiple listening positions, or for a stubborn null at the main chair that placement alone cannot move. Solve the single sub properly first; reach for the second only when the measurement tells you the single one has hit its ceiling.
Frequently Asked Questions
What crossover frequency should I use for a subwoofer?
Around 80 Hz is a common starting point, but it depends on your mains. Small bookshelf speakers want a higher crossover, roughly 80 to 100 Hz; capable floorstanders can cross lower, around 60 to 70 Hz. Cross where the main speakers naturally start rolling off so the handoff to the sub is smooth, and confirm the result with a measurement.
Why does my subwoofer sound disconnected from my speakers?
Usually a timing or crossover problem. If the sub and mains do not arrive at your ear in time, they interfere at the crossover and create a suck-out that sounds like missing or lumpy bass. Set delay in a DSP to time-align them, use a proper crossover so they do not overlap, and measure the combined response to confirm a smooth handoff.
Do I need DSP to integrate a subwoofer?
You can integrate one with just a crossover and phase switch, but DSP makes it far better. A DSP unit gives you precise delay for time-alignment, parametric EQ to cut modal peaks, and independent control of the sub, which together let the sub blend seamlessly rather than boom from the corner. For serious music use, DSP is the difference-maker.
Should I EQ my subwoofer before or after setting the crossover?
After. Set the crossover, time-align with delay, and level-match the gain first, then EQ the modal peaks in the combined response. EQ-ing before crossover and timing are set just corrects a response you are about to change. EQ is the finishing step, applied to the integrated result, not the starting point.
Can EQ fix a subwoofer null?
No. A null in the bass is a cancellation from the sub’s position relative to the room and the mains, and boosting it just clips the sub amp without filling the hole. The fix is physical: move the sub, move the seat, or add a second subwoofer to change the room’s interference pattern. EQ corrects peaks, not nulls.
Dialed in this way — crossover matched to the mains, delay set by measurement, gain balanced, peaks cut — a subwoofer stops being a separate box and becomes the bottom octaves of your speakers. It is the highest-impact EQ work in the whole system, which is why I treat it as the centerpiece of the broader equalization approach laid out in my home audio equalizer guide. The measurement discipline behind every setting here is the same one covered in my REW measurement guide, and the peaks-versus-nulls logic comes straight from room correction basics.