Digital Room Correction Explained for Home Audio
Digital room correction is the umbrella term for using a computer or DSP to measure your room and apply correction filters that compensate for what the room does to the sound. It is the technology behind every method I have written about in this cluster, and the phrase covers a wider range of approaches than most people realize — from a handful of parametric filters to full convolution that corrects amplitude and timing together. This is the conceptual explainer: what digital room correction actually is, the forms it takes, and where each one earns its place.
The reason it matters is the same reason everything in this cluster matters: the room is the dominant variable in how your system sounds, and digital correction is the most powerful, most affordable way to take control of it. If you want the hands-on versions, the rest of the cluster covers them; this piece steps back to explain the concept so the specific guides make sense in context. The overview that ties it all together is my home audio equalizer guide.
What Digital Room Correction Means
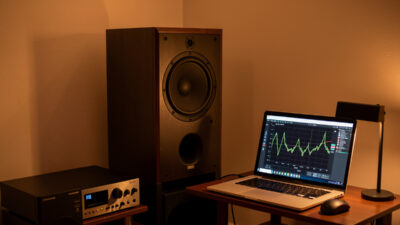
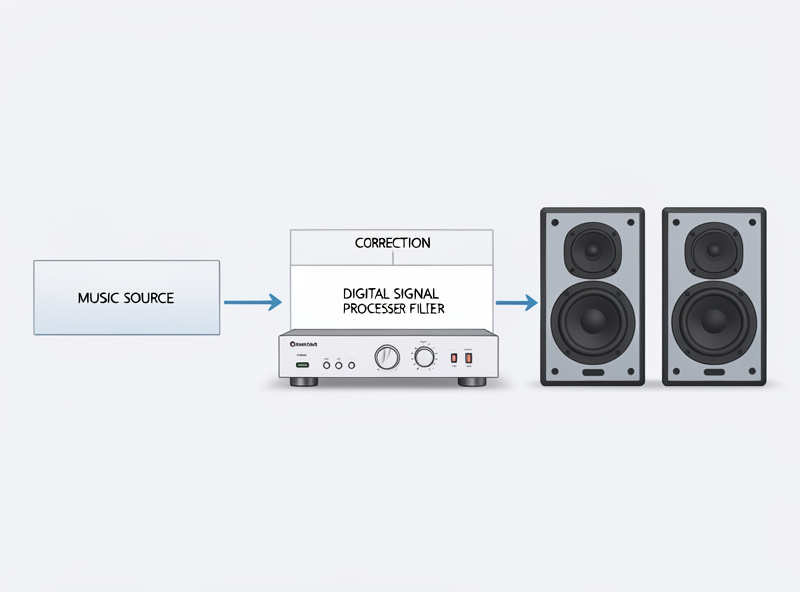
At its core, digital room correction is a three-step loop performed in the digital domain. First, you measure the in-room response at the listening seat with a calibrated microphone. Second, software analyzes that measurement against a target — the response you want at your ears. Third, it computes a correction filter and applies it to the music signal digitally before that signal reaches your amplifier and speakers, so what arrives at your ear is closer to the target than the raw room would allow.
The “digital” part is what makes it powerful. Working on the signal as data, before conversion to analog, the correction can be precise to a fraction of a decibel, perfectly repeatable, and far more sophisticated than any analog tone control. It can apply dozens of exact filters, time corrections, and complex curves that analog circuitry simply cannot. The trade-off is that every digital boost consumes headroom, which is why competent correction is built mostly from cuts, with overall level trimmed to leave margin — a theme that runs through everything in this cluster.
Parametric Filters Versus Convolution
Digital room correction comes in two broad flavors, and understanding the difference clarifies the whole field. The first is parametric EQ correction: the software generates a set of parametric filters — each with a frequency, gain, and Q — that you apply to cut the measured peaks. This is what most hardware DSP units do, it is transparent and robust, and it is what I use for the bulk of my correction. It is straightforward to understand and easy to adjust.
The second is convolution. Instead of a handful of filters, convolution applies a single complex “impulse response” filter that can correct both amplitude (frequency response) and phase/timing together across the whole spectrum. It is more powerful and can, in principle, correct things parametric EQ cannot, particularly in the time domain. The cost is complexity and the risk of overcorrection — convolution that tries to fix everything, including the uncorrectable nulls and the reflection-dominated region above the Schroeder frequency, can introduce audible artifacts and pre-ringing. I use convolution carefully and conservatively, band-limited to where it genuinely helps, rather than letting it loose on the full range.
Where Digital Correction Works and Where It Does Not
The single most important thing to understand about digital room correction is that it is not all-powerful, and the same physics limits apply no matter how sophisticated the algorithm. Below the Schroeder frequency, where the room behaves as discrete modes, correction is transformative — it cuts the peaks the room creates and the improvement is dramatic and reliable. This is correction’s home turf, and the deep dive on it is my room correction equalizer basics.
Above the Schroeder frequency, the room becomes a diffuse field where the response changes drastically with tiny head movements, and aggressive correction there backfires — a filter that fixes one ear position wrecks the other. The honest fix above that boundary is physical treatment, not more digital correction. And no algorithm, however clever, can fill a deep null caused by destructive interference; boosting it just clips and stresses the system. Digital correction is a precision tool for the modal region and a gentle tilt elsewhere, not a magic wand for the whole spectrum. Vendors who imply otherwise are selling the dream, not the physics.
How People Actually Run It
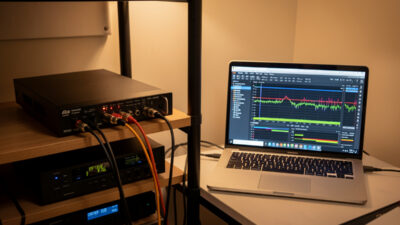
There are two practical roads, and they suit different needs. Hardware DSP — a dedicated box in the signal chain — applies the correction to every source that passes through, independent of which app or device is playing. It is bulletproof and source-agnostic, which is why I use it for the main system, and a unit like the miniDSP Flex processor handles both parametric and convolution correction in one box. The setup process is covered in my miniDSP 2×4 setup guide.
Disclosure: the link above is an Amazon affiliate link; I may earn a small commission at no cost to you, and I only link gear I run myself. It is a search link so it never goes stale.
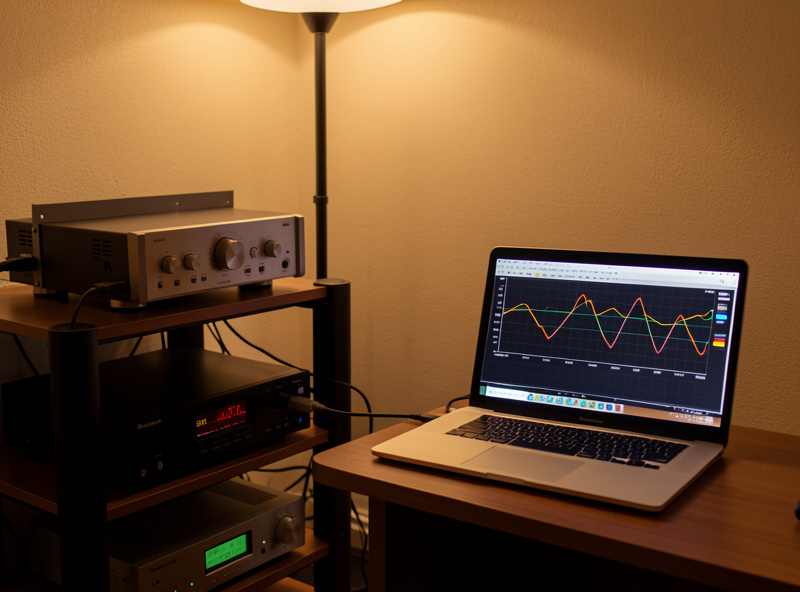
The other road is software correction running on a computer or streamer, applying the filter to audio from that device. It costs nothing beyond the measurement microphone, which makes it the natural starting point, and it is ideal for a computer-based source or a desktop rig. The trade-off is that it only corrects audio from that one device and app. Most people should start in software to learn the process, then move to hardware DSP if they want whole-system, source-agnostic correction. Whichever you choose, the measurement that feeds it is the same discipline, covered in my REW measurement guide.
Automatic Versus Manual Correction
Digital room correction also splits along another axis: how much the system decides for you. Automatic systems — the room-correction routines built into many AV receivers and some standalone platforms — run their own measurement, compute a correction, and apply it with little user input. They are genuinely convenient and a real step up from nothing, especially for home theater where speed and ease matter and the goal is “better,” not “optimal.”
Manual correction, the approach I use, hands you the measurement and the filters and lets you make every decision. It is more work and demands that you understand peaks, nulls, the Schroeder boundary, and the cut-don’t-boost rule. The payoff is control: you decide exactly what to correct, how aggressively, and what to leave to physical treatment, and you avoid the over-correction that automatic systems sometimes apply when they try to flatten regions that should be left alone.
My honest take is that automatic correction is a fine default for convenience-first setups, and manual correction is worth the effort for a dedicated two-channel music system where you care about the result. The two are not enemies — plenty of people start with an automatic system, learn what it does, and graduate to manual once they understand what they are hearing. Either way, the underlying principle is identical: measure the room, correct the modal peaks, respect the limits of physics, and let the curve and the chair agree before you call it done. The automation only changes who makes the decisions, not what the physics allows.
Frequently Asked Questions
What is digital room correction?
Digital room correction uses a calibrated microphone and software to measure how your room affects the sound at your seat, then applies correction filters to the music signal digitally before it reaches your amplifier. The goal is to compensate for the room’s peaks so what arrives at your ear is closer to neutral than the raw room allows.
What is the difference between parametric and convolution correction?
Parametric correction applies a set of individual filters, each with a frequency, gain, and width, mainly to cut measured peaks. Convolution applies a single complex impulse-response filter that can correct amplitude and timing together across the spectrum. Parametric is simpler and robust; convolution is more powerful but riskier and easier to overdo.
Does digital room correction actually work?
Yes, dramatically, below the Schroeder frequency where the room behaves as discrete modes. It cuts the peaks the room creates and the improvement is reliable. Above that boundary it is far less effective because the response changes with head position, and no correction can fill a deep null. It is a precision tool, not a cure-all.
Is hardware or software room correction better?
Hardware DSP corrects every source in the chain and is bulletproof, which suits a main system. Software correction runs on one device for nothing beyond the microphone, which suits a computer or desktop source and makes a great starting point. Many people begin in software and move to hardware for whole-system, source-agnostic correction.
Can digital room correction replace acoustic treatment?
No. They solve different problems. Correction handles steady-state level errors below the Schroeder frequency. Physical absorption and bass traps shorten decay time and tame reflections above it that correction cannot touch. The two work together: treat the room, then correct what physics leaves behind.
Will digital room correction add latency or harm sound quality?
Properly set up, the quality gain far outweighs any downside. Digital processing adds a small, usually inaudible latency, and the main quality risk is overcorrection, especially with aggressive convolution above the modal region. Built mostly from cuts with headroom left, conservative digital correction is transparent and a clear net improvement.
Related Guides
Digital room correction is the concept; these are the hands-on pieces. Start with room correction equalizer basics for the physics, use the parametric vs graphic equalizer guide to understand the filter type, the REW measurement guide to take the measurement, and the subwoofer EQ integration guide for where correction pays off most.