First Reflection Points: How to Find and Treat Them
First reflection points are the spots on your side walls, ceiling, and floor where sound bounces once before reaching your ears, and treating them is the cheapest, most dramatic imaging upgrade in hi-fi. In my listening space, hanging two absorbers at the side-wall points pulled the soundstage off the speakers and into a focused, three-dimensional image — a change bigger than any DAC I have swapped.
The reason is timing. The direct sound from your speakers reaches you first; the reflected copy arrives a few milliseconds later from a slightly different direction, and your ear-brain smears the two together. Absorb that early reflection and the image snaps into place. This guide is how I find and treat those points in a real room, with a calibrated mic to confirm it worked — the practical core of my broader room acoustics treatment guide.
What a First Reflection Actually Is
A first reflection is the single bounce of sound off a nearby boundary on its way from speaker to ear. Because it arrives within about 1 to 5 milliseconds of the direct sound, your brain cannot separate it as an echo — instead it fuses with the direct sound and distorts the apparent location and size of every instrument. The result is a vague, smeared image where voices and instruments seem to cling to the speaker cabinets.
The early reflections that matter most are the two side walls, the ceiling, and the floor between you and the speakers. Treat those four and you have addressed roughly 90% of the imaging problem. Later reflections — off the rear wall, well after the direct sound — are a different job handled by diffusion, covered in diffusion vs absorption.
How to Find Your First Reflection Points
The mirror trick finds them in two minutes with zero gear. Sit in your normal listening seat and have a helper slide a small mirror flat along the side wall; wherever you can see the tweeter of a speaker reflected in the mirror, that exact spot is a first reflection point and a place to hang a panel. Mark each one with low-tack tape.
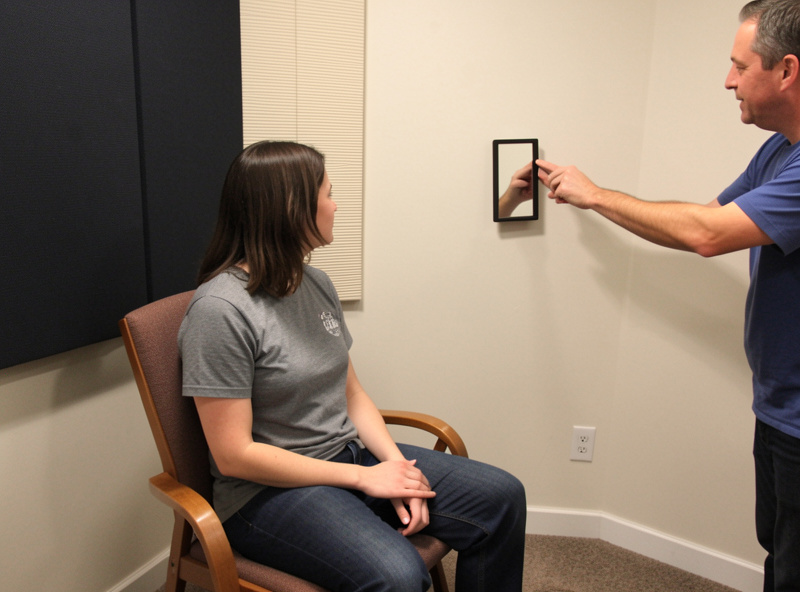
Repeat for both side walls, then do the ceiling the same way — slide the mirror across the ceiling between the speakers and the seat until a tweeter appears. The floor point sits roughly halfway between each speaker and your chair. In a symmetrical setup the side-wall points are mirror images of each other; if they are not, your speakers or seat are off-centre and that is worth fixing first, as I cover in the speaker placement guide.
What to Hang — and Why Foam Will Not Do
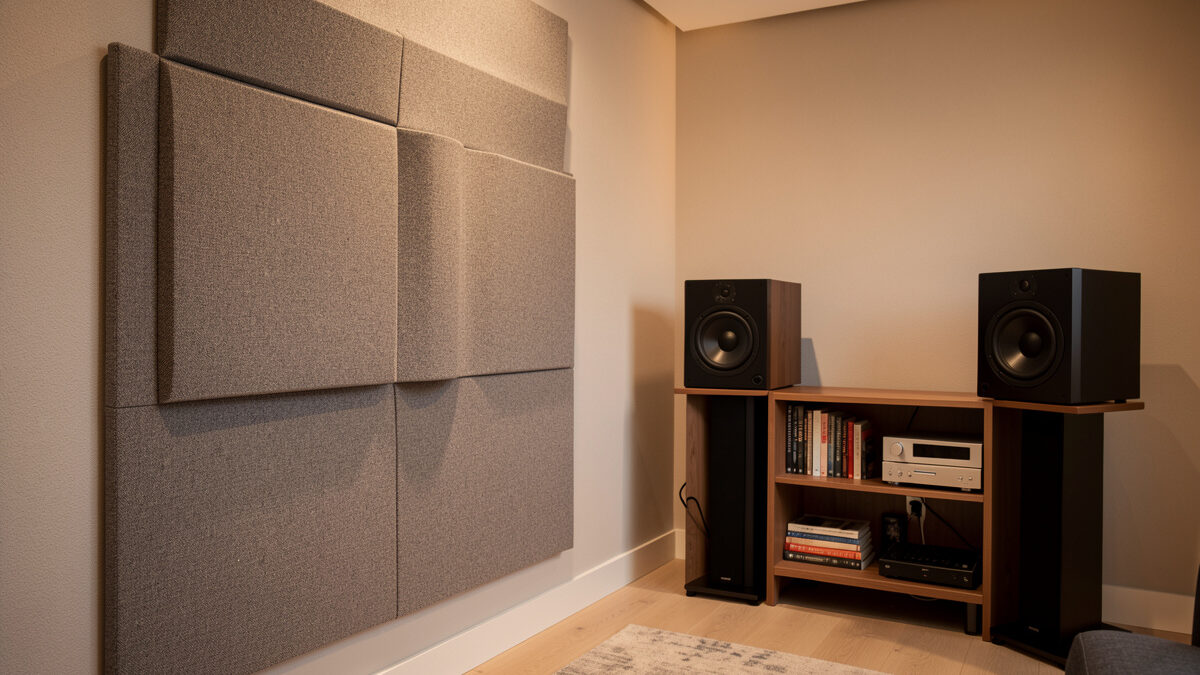
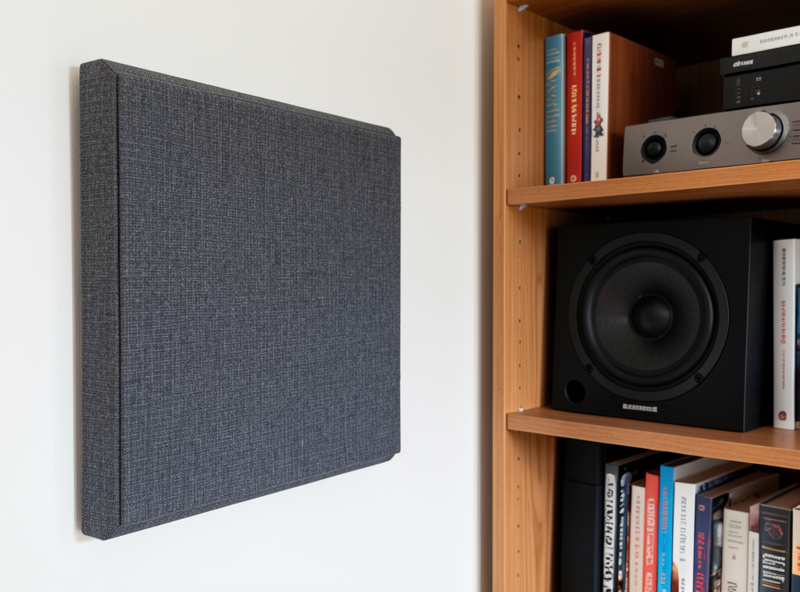
Use a real broadband absorber: a 50 to 100 mm thick panel of mineral wool at around 45 to 60 kg/m³, wrapped in acoustically transparent fabric, roughly 60×120 cm. That thickness absorbs effectively from about 250 Hz upward, which covers the midrange and treble where imaging lives. A panel like this kills the reflection without making the room sound dead.
The thin acoustic foam sold as a room kit is the classic mistake. At 25 to 50 mm it only absorbs above roughly 1 kHz, so it removes air and sparkle while leaving the lower-midrange reflection — the part that actually smears the image — completely intact. You end up with a duller room that still images badly. Thickness is what matters, not the egg-crate shape. If you would rather build your own to the right spec, that is the DIY acoustic treatment guide, and the cheapest route is in acoustic treatment on a budget.
Side Walls, Ceiling, and the Floor Bounce
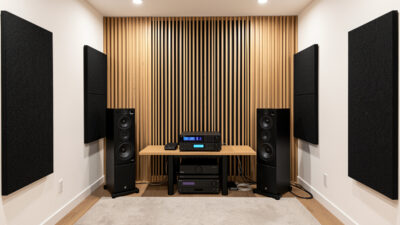
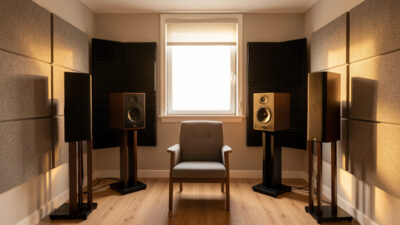
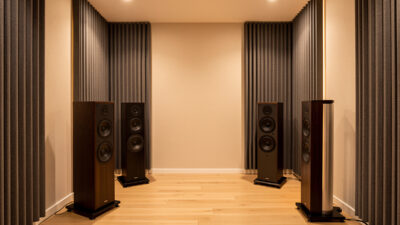
Side walls come first because they have the largest effect on left-right imaging and stage width. One panel at each marked point, centred at roughly tweeter height, is the standard fix. If your speakers are close to the side walls, the reflection is stronger and the panel matters more; in a wider room you have more natural delay and can sometimes get away with less.
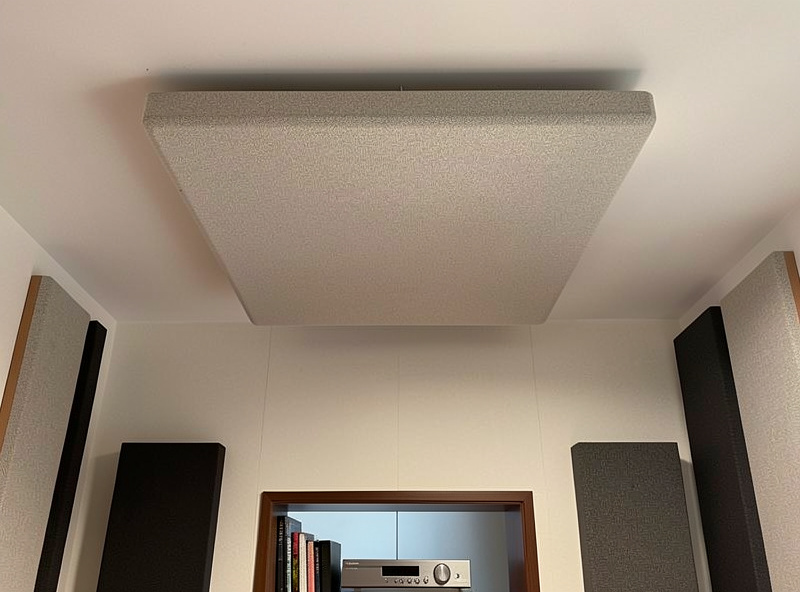
The ceiling reflection is the most overlooked and nearly as strong as the side walls. A ceiling cloud — a panel mounted flat or angled above the point between speakers and seat — tightens vertical focus and stops the image collapsing when you lean forward. For the floor, a thick rug with a dense underlay between the speakers and your chair does the job; it is the one piece of treatment most rooms already own.
When Your Room Is Not Symmetrical
Most real listening rooms are not symmetrical — one speaker sits near a wall, the other opens into a doorway or a hall. This is the hardest imaging problem, because the two channels arrive with different reflection patterns and the centre image pulls toward the more reflective side. Panels alone cannot fully fix it, but they help a great deal when you treat the strong side first.
My approach is to match the two sides acoustically rather than chase perfect placement. If the left wall is close and hard and the right side is open, I treat the left first-reflection point heavily and leave the open side alone, because there is no early reflection there to absorb. The aim is to make what reaches each ear as similar as possible. Where an opening cannot be balanced, a freestanding panel or a heavy curtain on a track can stand in for the missing wall. It is a compromise, but a measured one — I confirm the balance with a left-versus-right sweep rather than trusting the room to be fair.
How Much Is Enough
For a small room, four points treated — two side walls, one ceiling, one floor — is the sweet spot. Adding a second panel per side wall can help in a reflective room, but past that you are into over-damping, where the room loses life and starts sounding like a recording booth. The goal is a controlled reflection, not a dead one.
This is where measurement earns its keep. After hanging panels I run an REW sweep and look at the early-reflection energy and the impulse response — you can see the reflection drop and the decay tighten. If you have never used it, start with the REW software guide and the full method in measuring room acoustics with REW. First reflections are the part of treatment where the ear and the graph agree most clearly — the imaging improvement is obvious and the measurement confirms it.
Frequently Asked Questions
How do I find the first reflection points in my room?
Sit in your listening seat and have a helper slide a mirror flat along the side wall. Wherever you can see a speaker tweeter reflected, that spot is a first reflection point. Repeat for both side walls, the ceiling, and find the floor point about halfway between speaker and chair.
How thick should a first reflection panel be?
Use a broadband absorber 50 to 100 mm thick made of mineral wool around 45 to 60 kg per cubic metre. That thickness absorbs effectively from about 250 Hz up, covering the midrange and treble where imaging lives. Thin 25 to 50 mm foam only works above 1 kHz and leaves the smearing reflection intact.
Does treating first reflections make the room sound dead?
No, if you stop at the early reflection points. Treating two side walls, the ceiling, and the floor controls imaging without over-damping. Problems only appear if you blanket every surface in absorption, which removes the liveliness. Keep the rear wall reflective or diffused.
Is the ceiling reflection worth treating?
Yes. The ceiling reflection is nearly as strong as the side walls and is the most commonly skipped point. A ceiling cloud above the spot between your speakers and seat tightens vertical focus and stops the image collapsing when you change posture.
Can I just use acoustic foam for first reflections?
Not effectively. Thin egg-crate foam absorbs only the highest frequencies, so it dulls the treble while leaving the lower-midrange reflection that smears the image. A proper 50 to 100 mm broadband panel is needed to treat the frequencies that actually affect imaging.
Do I need to treat the floor reflection?
Usually a thick rug with a dense underlay between the speakers and the listening seat handles the floor bounce well, so most rooms already have what they need. A bare hard floor benefits noticeably from adding one.