How to Calibrate a Home Theater Audio System
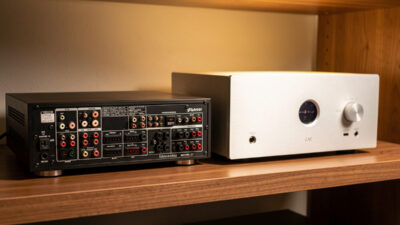
Calibrating a home theater audio system means setting each speaker’s distance, trim level, crossover, and a room-correction filter so every channel arrives at your seat at the same time and the same reference volume. The fastest path is the receiver’s built-in auto-calibration — Audyssey, YPAO, MCACC, or Dirac — which measures the room with a bundled microphone in under two minutes and applies the corrections automatically. Then you verify and override the parts the auto routine gets wrong, mainly the bass.
I trust auto-calibration completely for the things it measures better than I can — distances and levels — and I override it where I know more than it does, which is the room-correction curve below the Schroeder frequency. Living with both the automatic pass and a calibrated measurement mic taught me exactly where the line sits. This guide is that workflow: run the auto-calibration correctly, read what it set, and fix the two or three things it predictably gets wrong.
As an Amazon Associate I earn from qualifying purchases.
How Does Home Theater Auto-Calibration Work?
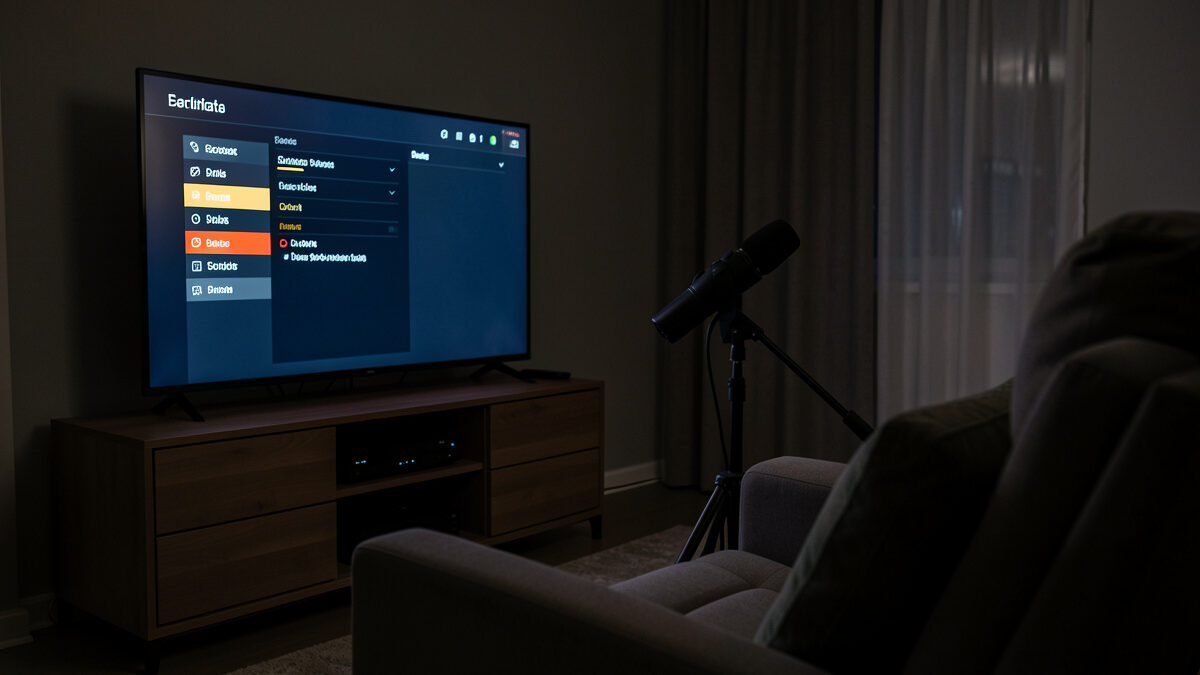
Auto-calibration plays test tones through each speaker while a microphone at your listening position measures the arrival time, level, and frequency response, then the receiver sets a distance (converted to a time delay), a trim level to hit a matched 75dB reference, a crossover, and a correction filter. You place the bundled mic at seated ear height, run the routine, and the receiver does the math.
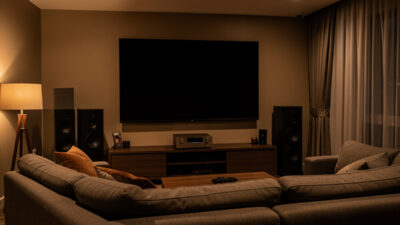
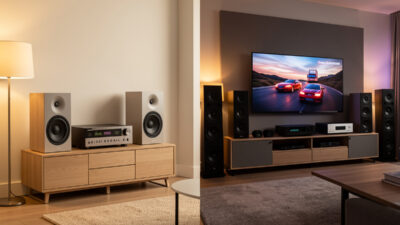
The time-delay step is the one that is genuinely hard to do by hand and easy for the system to nail: it measures the actual distance to each speaker and delays the closer ones so sound from all channels reaches your ear together. That alignment is what makes a surround field feel coherent rather than smeared. Get the mic placement right and the auto pass handles distances and levels better than a tape measure and an SPL meter ever could. The full system context is in the home theater audio system guide.
How Do You Run the Calibration Correctly?
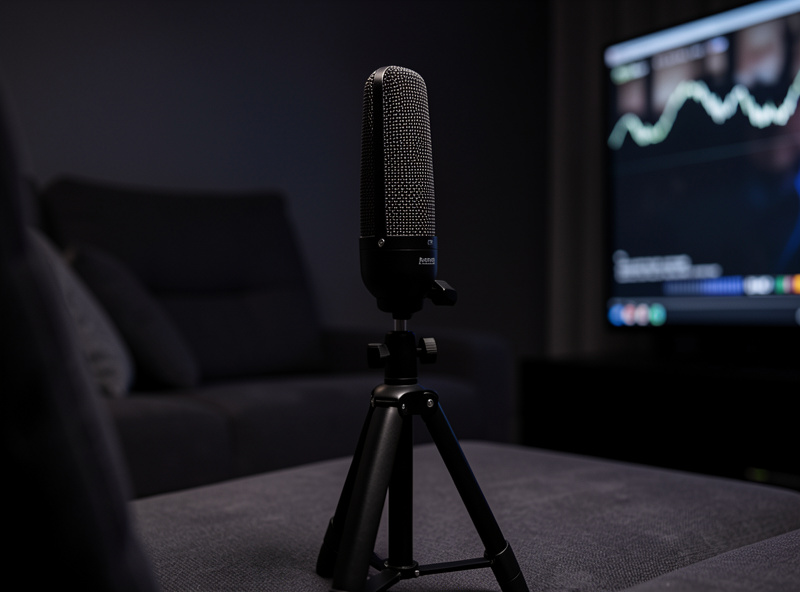
Place the calibration mic on a tripod or boom at exactly seated ear height in the main seat, make the room silent, then start the routine and let it sweep every speaker. Most systems take multiple measurements at slightly different positions around the seat; do them, because the averaged result is more robust than a single-point reading.
Two mistakes ruin more calibration runs than anything else, and I have made both. The first is running the sweep with the room noisy — a fridge, a fan, traffic through a window — which the mic measures and the receiver bakes into the correction. Run it at night, in silence. The second is holding the mic in your hand; a few centimeters of height error shifts the measured response enough to matter, so lock it to a stand. A proper mic tripod stand costs little and removes the single biggest source of error.
What Should You Check After Auto-Calibration?
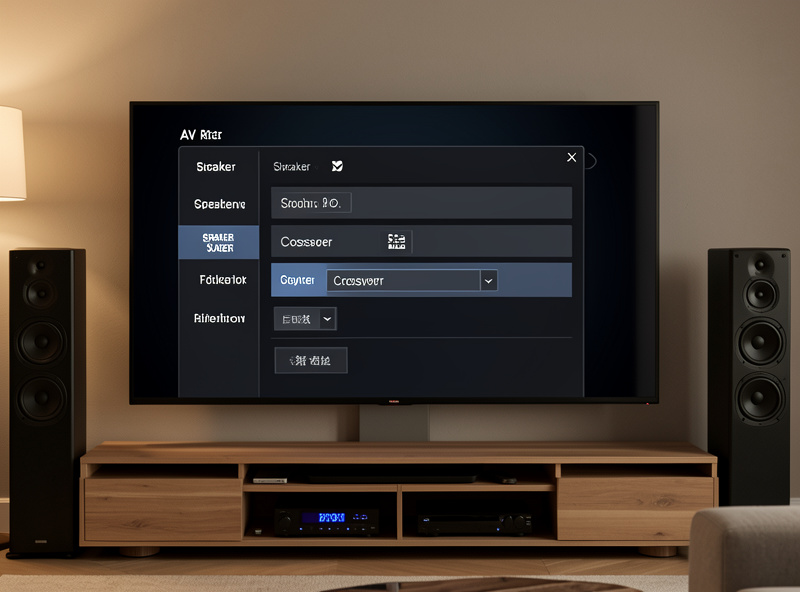
After the auto pass, check three things in the receiver’s speaker menu: that every speaker is set to “small” so bass routes to the sub, that the crossover landed near 80Hz, and that the measured distances look plausible. The auto routine occasionally flags a bookshelf speaker as “large,” which tells it to send deep bass the speaker cannot reproduce, leaving the sub half-idle while the mains distort.
The “large vs small” setting is the one I fix most often. Almost no home speaker should be set to “large” in a system with a subwoofer — “small” simply means “let the sub handle the deep bass,” which is what you want. I also re-check the crossover; if the auto routine set something odd like 40Hz on a small speaker, I move it back to 80Hz. These are two-minute menu fixes that the automatic measurement, for all its precision on timing, regularly gets wrong on bass management. The deeper electronic-correction philosophy is in my home audio equalizer guide and room correction basics.
When Should You Override the Auto Room Correction?
Override the auto room-correction curve mainly in the bass, below roughly 200–300Hz, where room modes dominate and the auto system tends to over-correct — trying to flatten peaks and fill nulls it physically cannot win. A null caused by a room mode is a cancellation; no amount of EQ boost fills it, and pushing hard just wastes amplifier headroom and can overload the sub.
My approach is to let the auto correction work above the Schroeder frequency, where it smooths real response problems, and to be skeptical of what it does below. After the auto pass I verify with a calibrated mic and REW, and if the auto curve is fighting a deep null I would rather move the sub (the crawl test) than EQ a hole that cannot be filled. A calibrated USB measurement microphone is what turns “it sounds off” into a graph you can act on, and it is the single most useful tool I own for this. The full digital-correction picture is in digital room correction explained.
Home Theater Calibration Checklist
| Step | Action | What to verify |
|---|---|---|
| 1. Mic position | Tripod, seated ear height, main seat | Locked, not handheld |
| 2. Room state | Silence, no fans or traffic | Noise floor low |
| 3. Run sweep | All multi-position measurements | Every speaker detected |
| 4. Speaker size | Set all to “small” | Bass routes to sub |
| 5. Crossover | Confirm near 80Hz | Not an odd low value |
| 6. Room correction | Trust above Schroeder, verify bass | No fighting deep nulls |
Frequently Asked Questions
Is home theater auto-calibration accurate?
Auto-calibration is very accurate for speaker distances and trim levels, better than a tape measure and SPL meter. Its room-correction curve is less reliable below the Schroeder frequency, where room modes dominate. Run the auto pass, then verify and override the bass with a measurement mic.
Where do I put the calibration microphone?
Put the calibration mic on a tripod at seated ear height in your main listening seat, with the room silent. Run all multi-position measurements the system requests. Avoid holding the mic by hand, since a few centimeters of height error shifts the measured response.
Should all speakers be set to small after calibration?
Yes, in almost every system with a subwoofer. Small tells the receiver to route deep bass to the sub instead of the speaker. Auto-calibration sometimes flags a bookshelf as large, which sends bass it cannot reproduce, so change it back to small.
What crossover does calibration set?
Auto-calibration usually sets a crossover near 80Hz, the standard reference. If it sets an odd low value like 40Hz on a small speaker, change it back to 80Hz so the speaker is not forced to reproduce bass it cannot handle while the sub sits idle.
Can I improve on auto room correction?
Yes, mainly in the bass. The auto curve over-corrects below 200 to 300Hz where room modes dominate, trying to fill nulls that cannot be filled with EQ. Verify with a measurement mic and REW, and move the subwoofer rather than EQ a deep cancellation.
Do I need a measurement mic if the receiver has one?
The bundled mic runs the auto pass well. A separate calibrated USB measurement mic plus REW lets you see what the auto correction actually did and verify the bass, which is where auto systems are weakest. It is the most useful tool for checking calibration.